Welcome back, everyone. It’s time for another Savory Cooking post. As I’m typing this up, we’re just into Summer. It’s time for cookouts, BBQs, and gatherings. But, what if you’re like me and you live in a tiny apartment and they don’t let you have a grill? Are you just out of luck for all those great cookout foods? No, you’re not. You can make these braised ribs with just an oven and a cooktop. I originally learned this technique from Alton Brown, but my recipe has gone through various changes in the meantime. But really, this is as much a method as it is a recipe. And that method is really simple. As usual, my recipe will be in full down at the bottom.
Starting out, we need a dry rub for our ribs. I rarely make my dry rub 100% the same more than once. Though, a lot of that has come from me never actually writing down the dang recipe. Maybe doing so will help standardize it. But, of course, you’re free to swap things out as you see fit. We’ll need this:

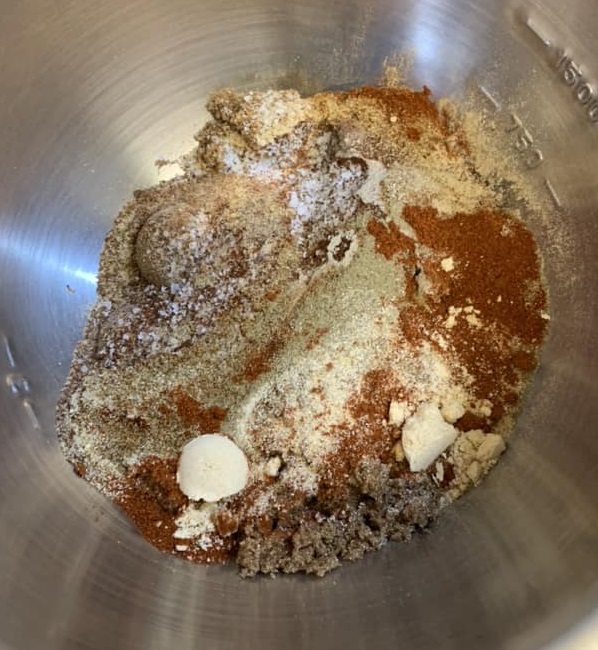
Ok, yes, I admit, that can look intimidating. Looking at my list, it’s 13 ingredients. But, again, you can kinda go with what you want. All you REALLY need is the brown sugar, salt, pepper, and maybe chili powder. If you use that and nothing else, you’ll end up with a good end product. This is just a bit more complex. Remember, it’s a method.
So, what all is this stuff? We’ve got: 10 tablespoons of brown sugar, 2 tablespoons kosher salt, 2 tablespoons chili powder, 1 1/2 teaspoons white pepper, 1 teaspoon cayenne, 1 teaspoon chipotle powder, 1 teaspoon Old Bay (that’s the Chesapeake Style Seasoning in there), 1 teaspoon ground thyme, 1 teaspoon cumin, 1 teaspoon garlic powder, 1 teaspoon onion powder, 1 teaspoon paprika (smoked, preferably), and 1 teaspoon dried mustard (not pictured).
Again, if you just had the brown sugar, salt, and chili powder, you’d be fine. The rest is just “a bit of this and a bit of that.” You can feel free to tweak that as you wish. Anyway, those go into a bowl.
Then, use a fork to mix it all together. Particularly, you’ll want to get out any big lumps of brown sugar or any other spice that’s kinda sticking together.
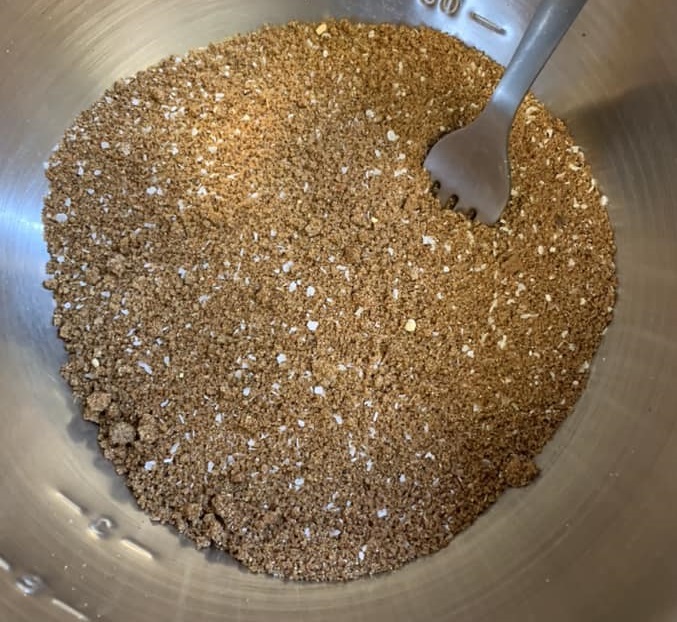
There we go. After that, we’re making ribs, so… we need ribs.
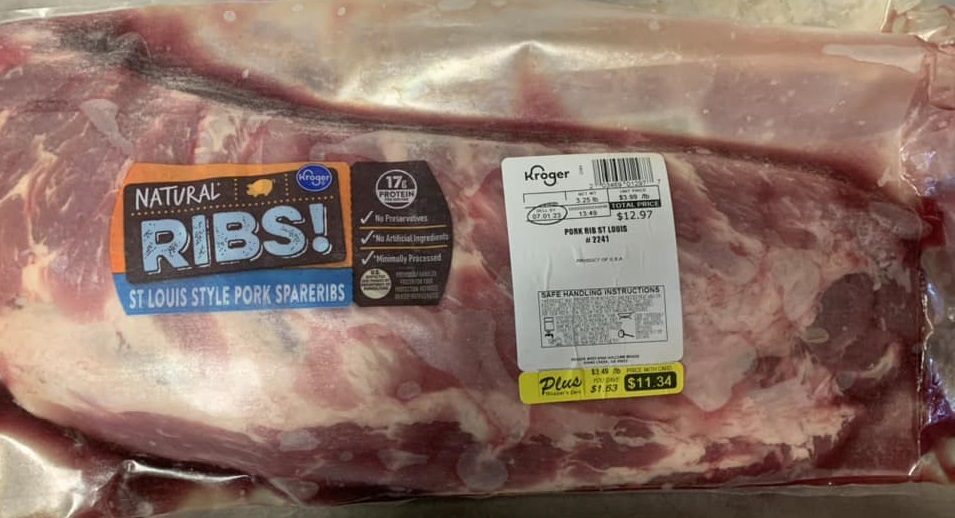
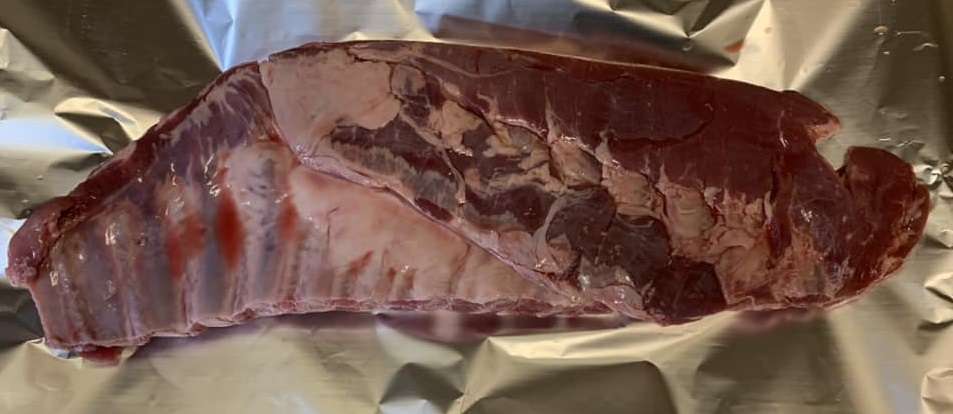
These have been on sale for a couple weeks at my grocery store. I mean, not a HUGE sale, but even saving a buck-sixty is nice these days. These are St. Louis Style Pork Spareribs. St. Louis Style is just a particular cut of spareribs. So, if you don’t specifically see “St. Louis Style,” but you just see spareribs, you’re still fine. Babybacks also work well (I made these last week, actually, with babybacks and they were delicious. It’s what made me decide to make them again and write it up). I have 2 slabs.
Anyway, get your ribs out of the packaging, draining off all the excess liquid, and place them on a giant piece of wide aluminum foil with the concave side facing up towards you.
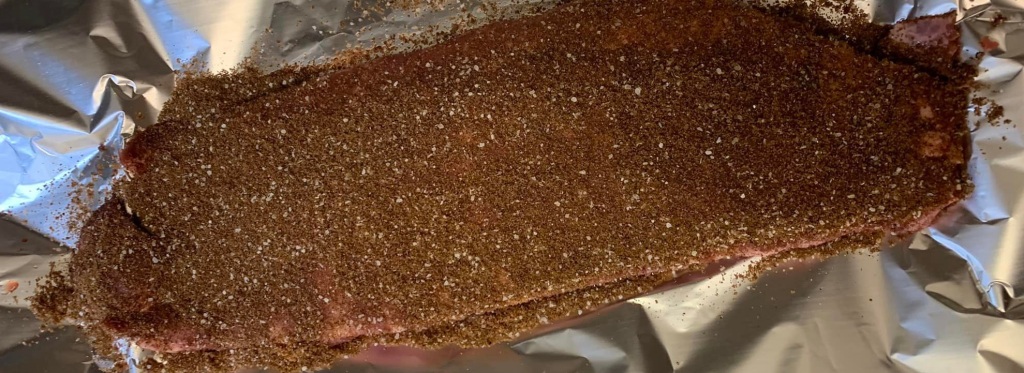
This is effectively the underside of the ribs (or what would be the further inside part of the pig) and we’re going to start applying our rub here. Don’t be shy. We want it on nice and thick. Be sure to cover everything and massage it lightly into the meat.
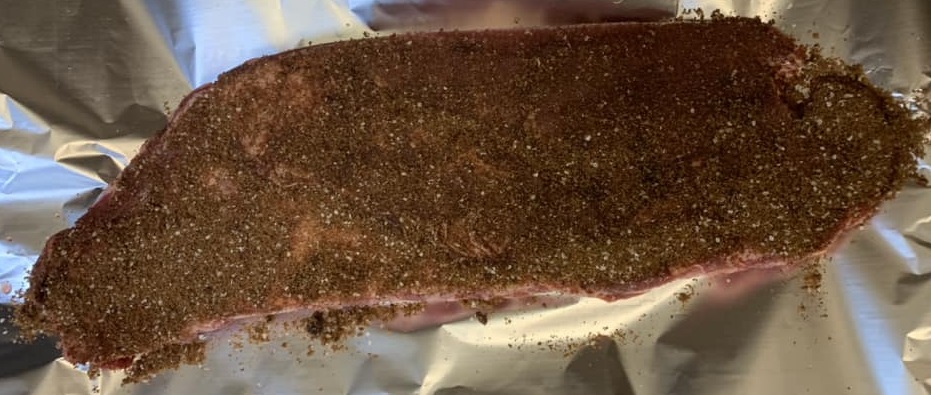
From there, simply flip and repeat with the other side.
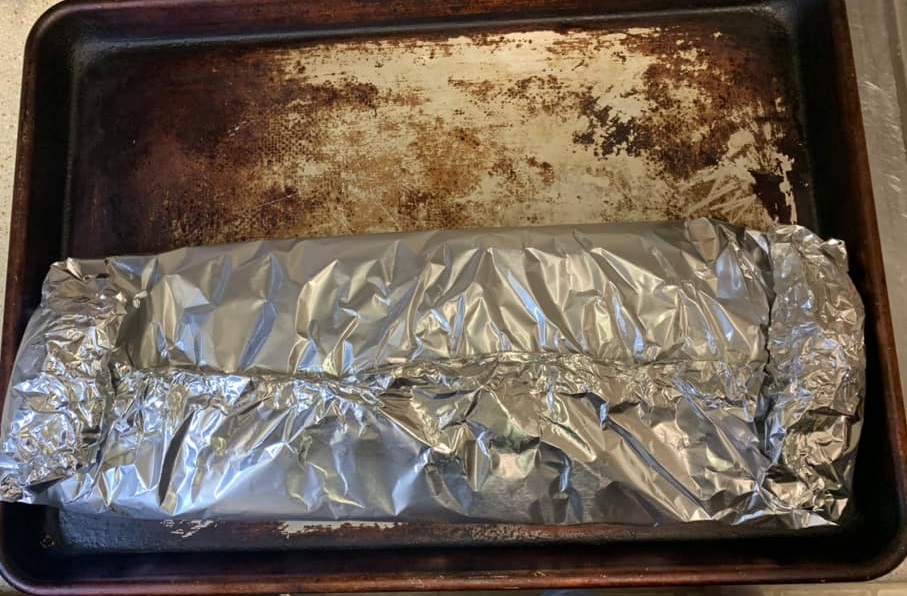
Then, we need to wrap this up in that foil. This is why you need wide foil and a piece that’s long enough to hold your ribs. Get the two edges to meet and then fold it down, then roll up the two ends so you have a nice, rib package.
Then, do all that again with the second rack of ribs.
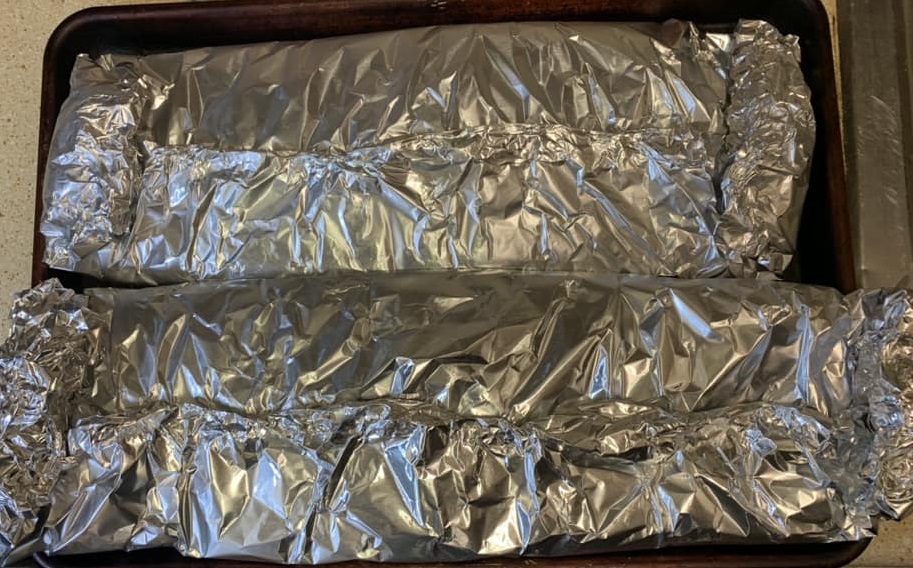
From there, these head into the fridge to chill. How long? Well, overnight would be best. But if you gave these just a couple hours, that’d be mostly-ok. But more time would be better. The next day, you should see…

… the same thing. What’d you expect? Just keep these wrapped up tight and get them into a 250F oven.
Yes, only 250F. This is a slow braise we’re trying to do here. Much hotter and, for the amount of time we’re going to be cooking these things, they’d dry out and get stringy. Sure, there’s a lot of ribs here, but they’re also really think. You know how a pizza cooks in almost no time in a hot oven? If we tried to do that with our ribs, they’d be super tough and chewy. We want these to be peel-off-the-bone tender. And, for that, 250F.
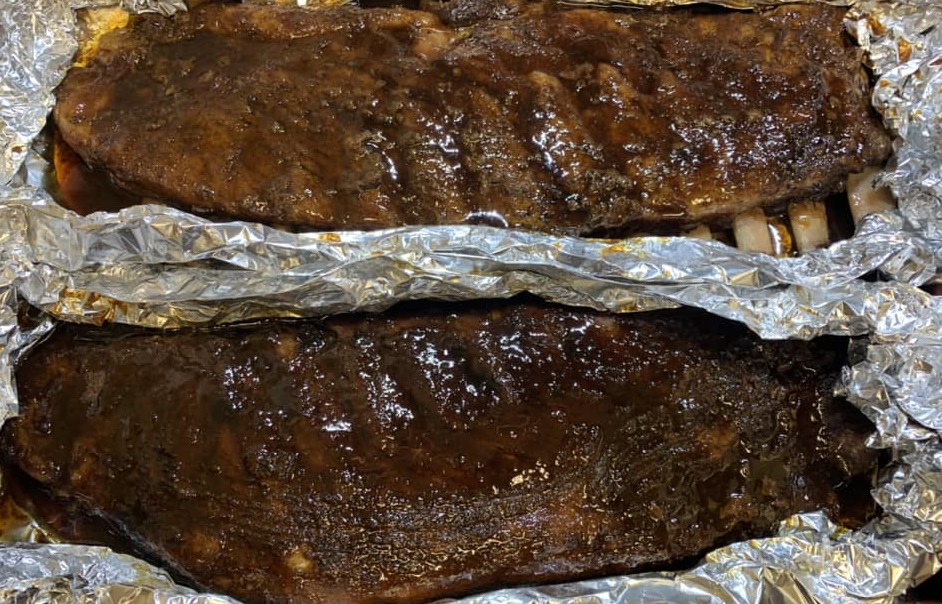
How long, exactly, they will take depends on exactly what cut you got. The bigger the ribs, the longer it’ll take. Plan for somewhere between 3 and 5 hours. If you have thinner babybacks, it’ll be around the 3 hour mark. If you have super-wide spareribs, you’re gonna be lookin’ at the 5. You’ll know when they’re done when you open the package and can see that the meat has plumped up and pulled back from the edges of the bones and if you take said bone and twist it, it’ll feel like you could just pull it out. If you cook them too long, you really could just pull that bone out.
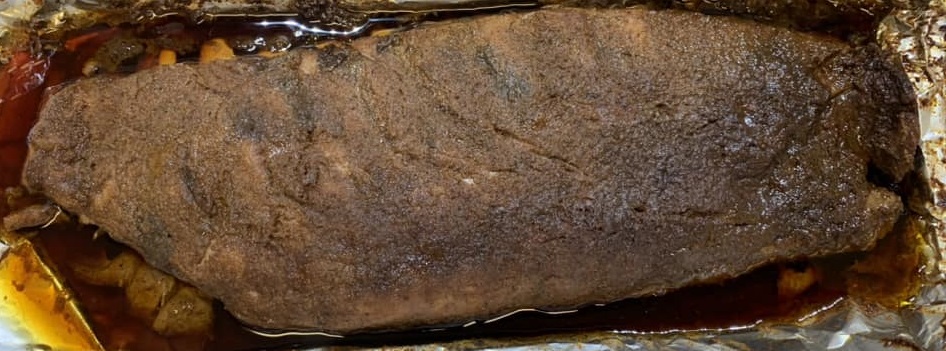
Now, that’s nice, but maybe a little pallid. And you see all that liquid? Remember, we put just ribs and rub in there. All of that came out of the meat. Now, it’d be a waste to waste that. So, being careful (these are still hot, after all), drain that juice off (from both packages) into a wide pan.
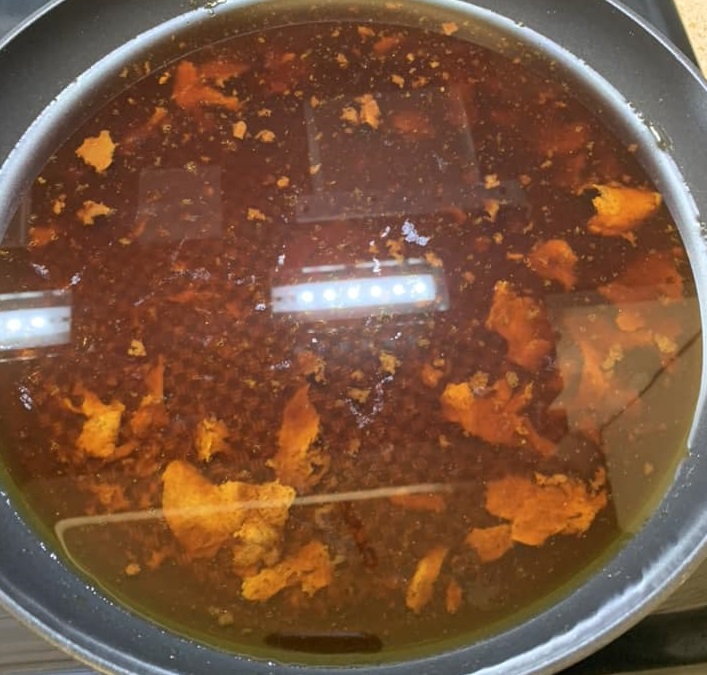
It might not look like it, but this is our BBQ sauce glaze we’re going to apply to our ribs. Put your pan on medium-high heat and bring this up to a boil.
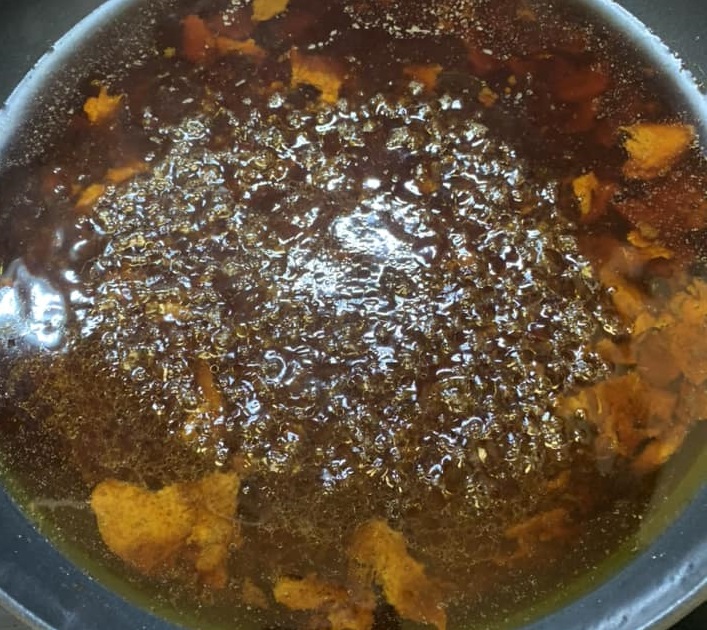
We’re looking to reduce this down. We’ll do that by literally boiling all the water we can out of it. How will you know when you’re almost done? Well, at the start, there will be a lot of steam coming out of the pan. That’s because, as I say, water is literally boiling out of the pan. When it’s mostly gone, there won’t be a lot of steam left to come out. Also, the bubbles will get very small and almost “foamy.” Finally, as you stir (which you should be doing constantly), you’ll see the sauce pull away briefly from the pan as you move your spatula through it.
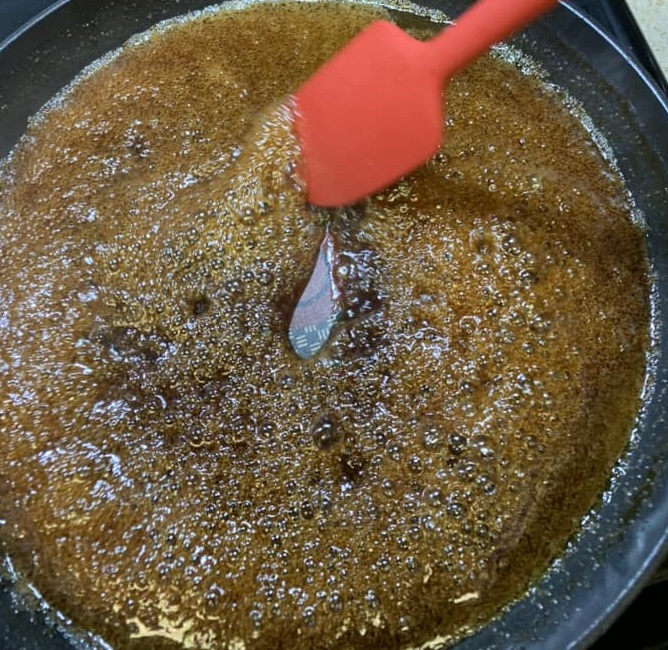
Don’t use too high of heat here, by the way. There’s a ton of sugar in this pan and we don’t want to turn it into carbon. When you get to this point, pour the glaze over your ribs and using either your spatula or a silicone brush, get it spread out evenly on your slabs of ribs.
Now, if you ended here, you’d have a really good couple-a slabs of ribs. But there’s just one last thing we can do, which is to get just a touch more color on these ribs and get just a slight crust on top. For that, we’ll need the broiler (or grill, if you’re a Brit).
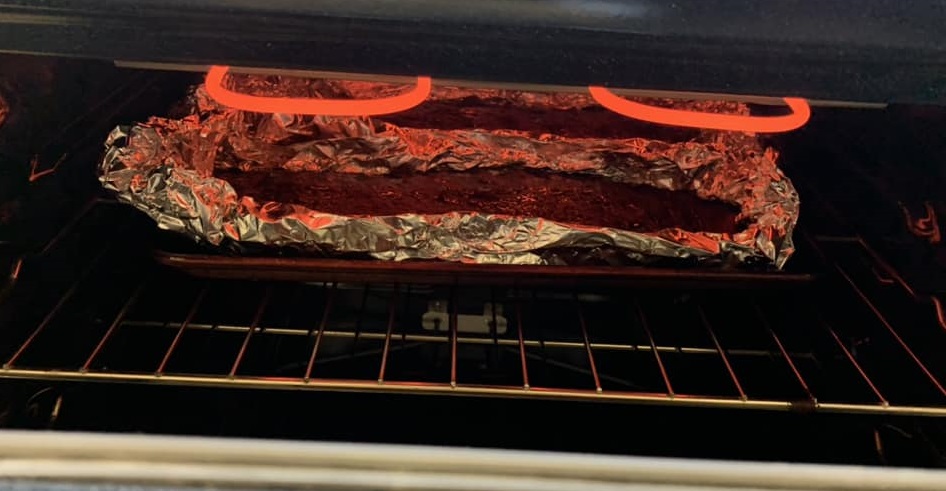
Do not go far away from this. We’re still talking about all that sugar and we don’t want to ruin all our hard work at this point. Just stand and watch as the surface starts to get hot and bubble up. If you see any smoke, evacuate immediately.
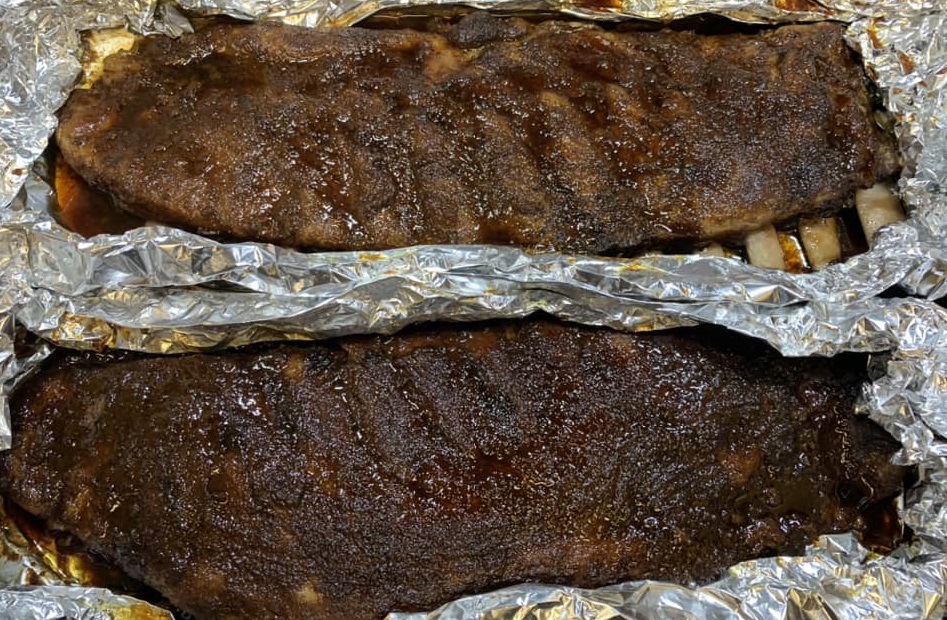
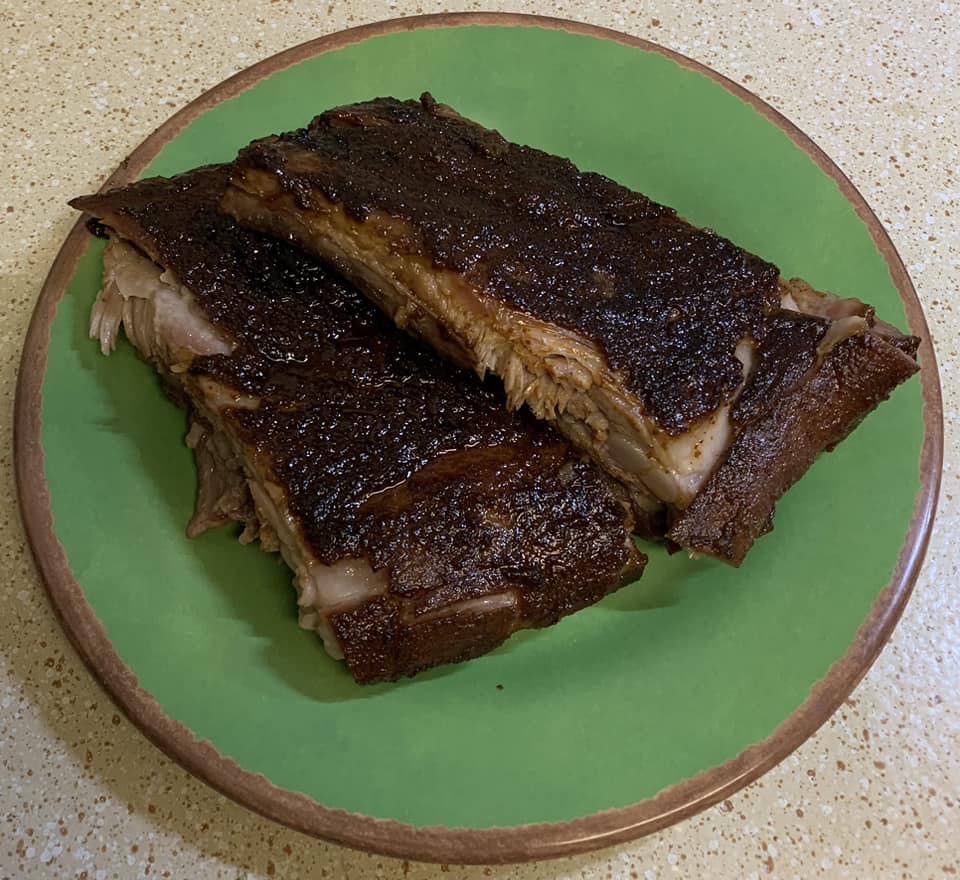
From there, it’s just a matter of slicing and serving. And any sauce that’s re-pooled under the ribs can be back added on top.
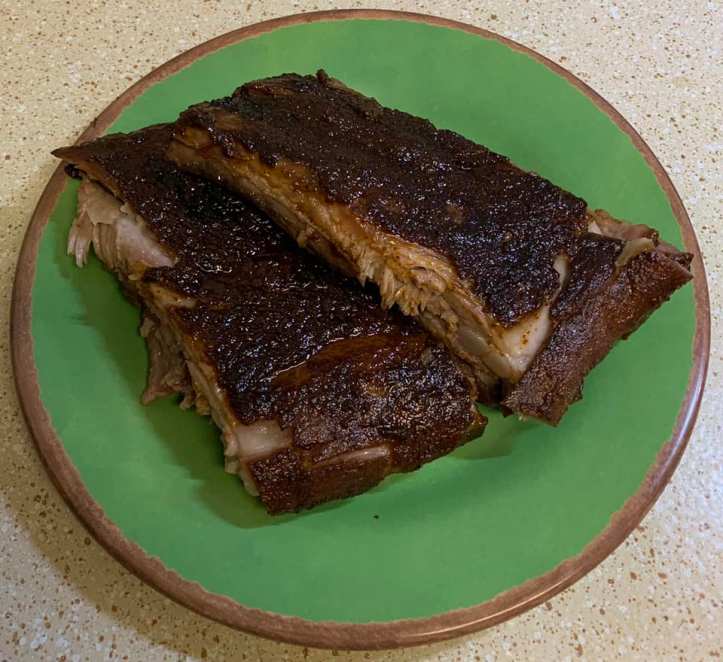
And there you have it. Honestly, the hardest part of this recipe is just getting the spices, and again, if you don’t want to go through that hassle, you can just use the sugar, salt, and chili powder. This is more a method than a recipe. Get your ribs. Apply the rub early. Wrap tightly in foil. Cook slow and low. Reduce the juice. Glaze and broil. Serve.
Thanks for stopping by. I hope you can make yourselves up some slabs of ribs to enjoy in the comfort of your own home.
Polar Bear’s Braised Ribs:
Ingredients:
10 tablespoons brown sugar
2 tablespoons kosher salt
2 tablespoons chili powder
1 1/2 teaspoon white pepper
1 teaspoon cayenne
1 teaspoon chipotle powder
1 teaspoon Old Bay
1 teaspoon ground thyme
1 teaspoon cumin
1 teaspoon garlic powder
1 teaspoon onion powder
1 teaspoon smoked paprika
1 teaspoon dry mustard
2 slabs of ribs
Method:
In a bowl, combine all the spices, using a fork to break up any clumps of brown sugar. This is the rub.
Remove 1 slab of the ribs from their packaging, draining off excess liquid, and place them, facedown, onto a wide, long piece of foil.
Liberally apply the rub to the ribs. Flip them over, and apply the rub to the other side.
Seal the ribs inside the foil tightly.
Repeat with second slab of ribs.
Place ribs on a baking tray and place them in the fridge for 4 hours, up to overnight.
Heat your oven to 250F.
Place the ribs, still on the baking tray, into the oven.
Let ribs braise for 3-5 hours. Ribs are done when a bone from the center of the rack feels loose in the socket.
Remove ribs from the oven (keeping them in their foil packs for now) and carefully drain liquid from the foil packs into a wide saucepan.
On medium-high heat, reduce the liquid until most of the water is cooked out and the sauce has thickened.
Pour the reduced sauce back over the ribs, using a spatula or silicone brush to spread it evenly.
Heat your broiler to High.
Place ribs back under the broiler and let the tops crisp up slightly.
Remove and slice into portions for service.

[…] is starting out alright. Mine’s starting with trying a new sauce and reheating some leftover braised ribs. So, I can’t really complain. But as those ribs made my table look good, let’s get some […]
LikeLike